MCP OAuth
LiteLLM supports several OAuth 2.0 patterns for MCP servers. Every auth_type: oauth2 server in config.yaml must declare its flow via oauth2_flow; the passthrough modes are their own auth_type values, documented in MCP OAuth Passthrough:
| Flow | oauth2_flow | Use Case | How It Works |
|---|---|---|---|
| Interactive (PKCE) | authorization_code | User-facing apps (Claude Code, Cursor) | Browser-based consent, per-user tokens |
| Machine-to-Machine (M2M) | client_credentials | Backend services, CI/CD, automated agents | client_credentials grant, proxy-managed tokens |
| On-Behalf-Of (OBO) | n/a (uses auth_type: oauth2_token_exchange) | User-context tool calls to protected MCP servers | LiteLLM exchanges the caller token for a scoped MCP token. See MCP OBO Auth. |
| Passthrough (transparent) | n/a (uses auth_type: true_passthrough) | Client already holds the upstream token; LiteLLM adds no auth of its own | Forwards the client's Authorization verbatim, no LiteLLM admission. See MCP OAuth Passthrough |
| Delegated upstream OAuth | n/a (uses auth_type: oauth_delegate) | LiteLLM admits the caller; the upstream owns tool authorization | LiteLLM admission plus a separate forwarded upstream bearer, keeps spend and rate limits. See MCP OAuth Passthrough |
Interactive OAuth (PKCE)
For user-facing MCP clients (Claude Code, Cursor), LiteLLM supports the full OAuth 2.0 authorization code flow with PKCE.
Setup
mcp_servers:
  github_mcp:
    url: "https://api.githubcopilot.com/mcp"
    auth_type: oauth2
    oauth2_flow: authorization_code
    client_id: os.environ/GITHUB_OAUTH_CLIENT_ID
    client_secret: os.environ/GITHUB_OAUTH_CLIENT_SECRET
How It Works
Participants
- Client -- The MCP-capable AI agent (e.g., Claude Code, Cursor, or another IDE/agent) that initiates OAuth discovery, authorization, and tool invocations on behalf of the user.
- LiteLLM Proxy -- Mediates all OAuth discovery, registration, token exchange, and MCP traffic while protecting stored credentials.
- Authorization Server -- Issues OAuth 2.0 tokens via dynamic client registration, PKCE authorization, and token endpoints.
- MCP Server (Resource Server) -- The protected MCP endpoint that receives LiteLLM's authenticated JSON-RPC requests.
- User-Agent (Browser) -- Temporarily involved so the end user can grant consent during the authorization step.
Flow Steps
- Resource Discovery: The client fetches MCP resource metadata from LiteLLM's
.well-known/oauth-protected-resourceendpoint to understand scopes and capabilities. - Authorization Server Discovery: The client retrieves the OAuth server metadata (token endpoint, authorization endpoint, supported PKCE methods) through LiteLLM's
.well-known/oauth-authorization-serverendpoint. - Dynamic Client Registration: The client registers through LiteLLM, which forwards the request to the authorization server (RFC 7591). If the provider doesn't support dynamic registration, you can pre-store
client_id/client_secretin LiteLLM (e.g., GitHub MCP) and the flow proceeds the same way. - User Authorization: The client launches a browser session (with code challenge and resource hints). The user approves access, the authorization server sends the code through LiteLLM back to the client.
- Token Exchange: The client calls LiteLLM with the authorization code, code verifier, and resource. LiteLLM exchanges them with the authorization server and returns the issued access/refresh tokens.
- MCP Invocation: With a valid token, the client sends the MCP JSON-RPC request (plus LiteLLM API key) to LiteLLM, which forwards it to the MCP server and relays the tool response.
See the official MCP Authorization Flow for additional reference.
Reverse proxy and ingress configuration
If LiteLLM runs behind a TLS-terminating ingress (Kubernetes, ALB, nginx, Cloudflare, etc.), the proxy needs to know its public origin so the OAuth authorize endpoint can compare the browser-supplied redirect_uri (e.g. https://llm.example.com/ui/mcp/oauth/callback) against its own scheme + host + port. If the proxy resolves to its internal address (http://<pod-ip>:4000) the same-origin check fails and the Connect button on the MCP server page returns 400 Bad Request with {"detail":"invalid_request"}.
The simplest and recommended fix is to set PROXY_BASE_URL to the exact origin users see in the address bar:
PROXY_BASE_URL=https://llm.example.com
Rules for the value:
- Full origin only: scheme + host (+ port if non-default).
- No trailing slash, no path component.
- Must match the address bar exactly.
https://llm.example.comandhttps://llm.example.com:443are accepted as the same origin (the default port is normalized away), buthttps://llm.example.comwill not match a browser running againsthttps://llm.example.com:8443.
When PROXY_BASE_URL is set, LiteLLM uses it directly and skips the X-Forwarded-* trust path described below.
Origin resolution order
For MCP OAuth endpoints, LiteLLM resolves the proxy's public origin in this order:
PROXY_BASE_URLenv var — used verbatim if set to a validhttp(s)URL. Invalid values are ignored with a warning.X-Forwarded-Proto/X-Forwarded-Host/X-Forwarded-Port— only honored when bothuse_x_forwarded_foristrueand the request peer's IP falls insidemcp_trusted_proxy_ranges. Ifuse_x_forwarded_foris enabled withoutmcp_trusted_proxy_ranges, the headers are not trusted (there is no way to distinguish a trusted reverse proxy from a direct attacker).request.base_url— the literal URL FastAPI sees on the request. For ingressed deployments this is typicallyhttp://<internal-host>:4000and will not match the browser origin.
If you cannot or do not want to set PROXY_BASE_URL, configure the X-Forwarded path explicitly:
general_settings:
  use_x_forwarded_for: true
  mcp_trusted_proxy_ranges:
    - "10.0.0.0/8"      # your ingress / load-balancer CIDR(s)
and verify your ingress sends X-Forwarded-Proto, X-Forwarded-Host, and (if non-default) X-Forwarded-Port. See MCP OAuth troubleshooting for the diagnostic curl.
Allowing additional first-party redirect_uri origins
If a first-party OAuth client lives on a sister domain (for example, an internal web app on app.example.com registering against the MCP proxy on llm.example.com), set MCP_TRUSTED_REDIRECT_ORIGINS to allowlist its origin in addition to the proxy's own:
MCP_TRUSTED_REDIRECT_ORIGINS=app.example.com,*.tools.example.com
- Comma-separated list of
hostorhost:portentries. - HTTPS only. The allowlist path rejects any non-
httpsredirect_uri. - A
*.suffixentry matches any strictly-deeper subdomain ofsuffix(*.tools.example.commatchesa.tools.example.combut nottools.example.com). - Loopback (
localhost,127.0.0.0/8,::1) is always accepted regardless of this setting.
This is for first-party OAuth clients you control. For the standard ingress case, prefer PROXY_BASE_URL.
Why the same-origin check exists
The MCP proxy's /v1/mcp/server/oauth/<server_id>/authorize endpoint validates that the caller's redirect_uri shares scheme + host + port with the proxy's own public origin (or with one of the loopback / allowlisted entries above). The check exists to stop an attacker from phishing a logged-in admin into a link that bounces an authorization code — for an upstream OAuth-protected MCP server such as GitHub or Slack — through an attacker-controlled host. Same-origin (plus an explicit ops allowlist) is the threat-model-safe equivalent of the loopback-only rule used for native MCP clients.
PROXY_BASE_URL is the right escape hatch for ingressed deployments because the operator is declaring the proxy's true public origin out of band, rather than asking the proxy to infer it from headers an attacker might be able to set. The check itself is not relaxed.
Machine-to-Machine (M2M) Auth
LiteLLM automatically fetches, caches, and refreshes OAuth2 tokens using the client_credentials grant. No manual token management required.
Setup
You can configure M2M OAuth via the LiteLLM UI or config.yaml.
UI Setup
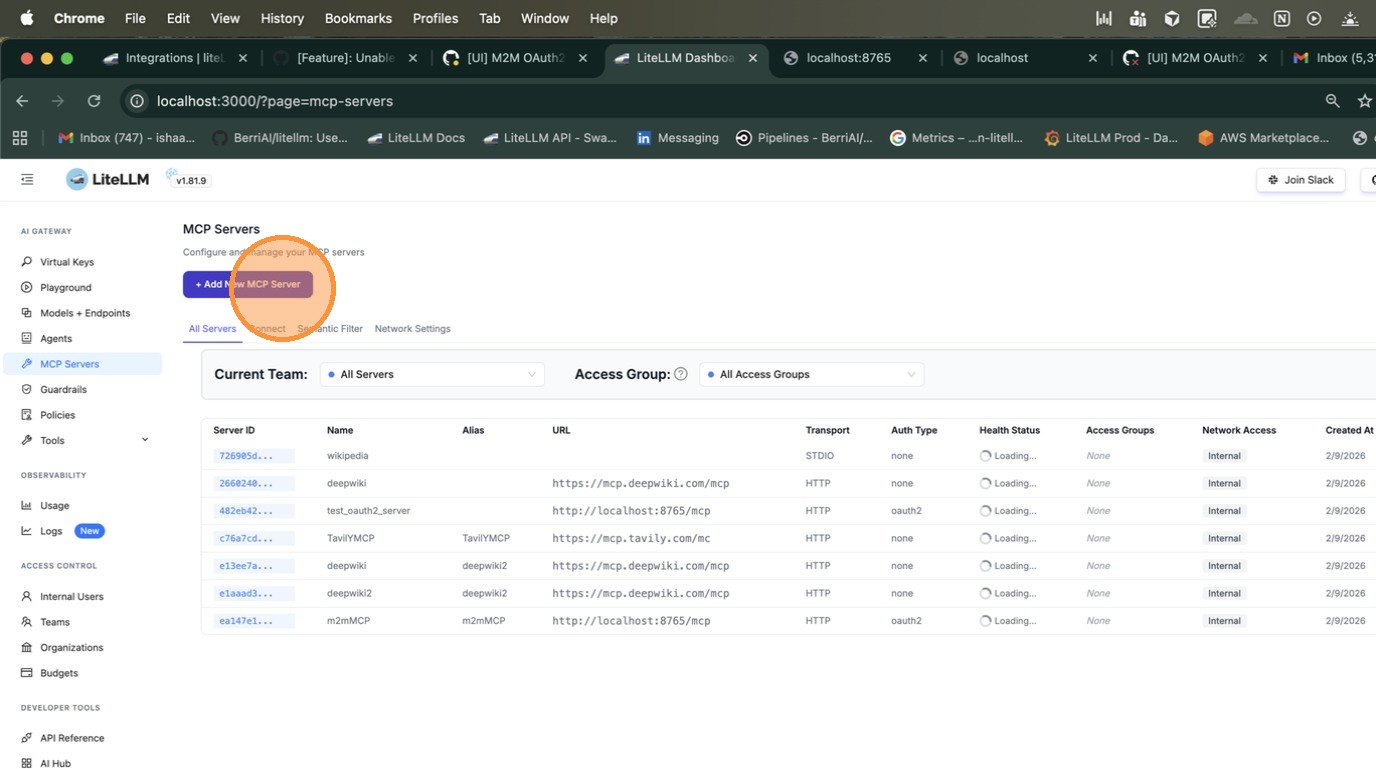
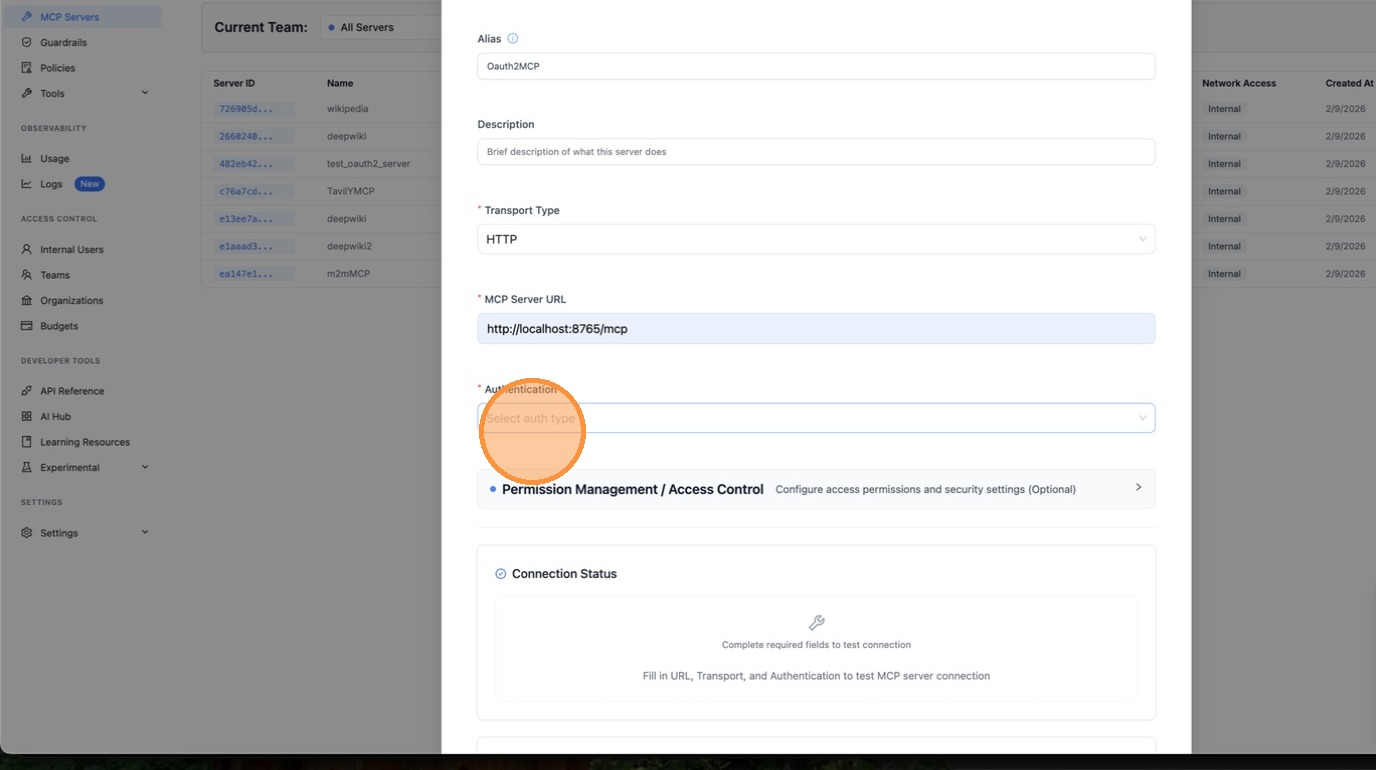
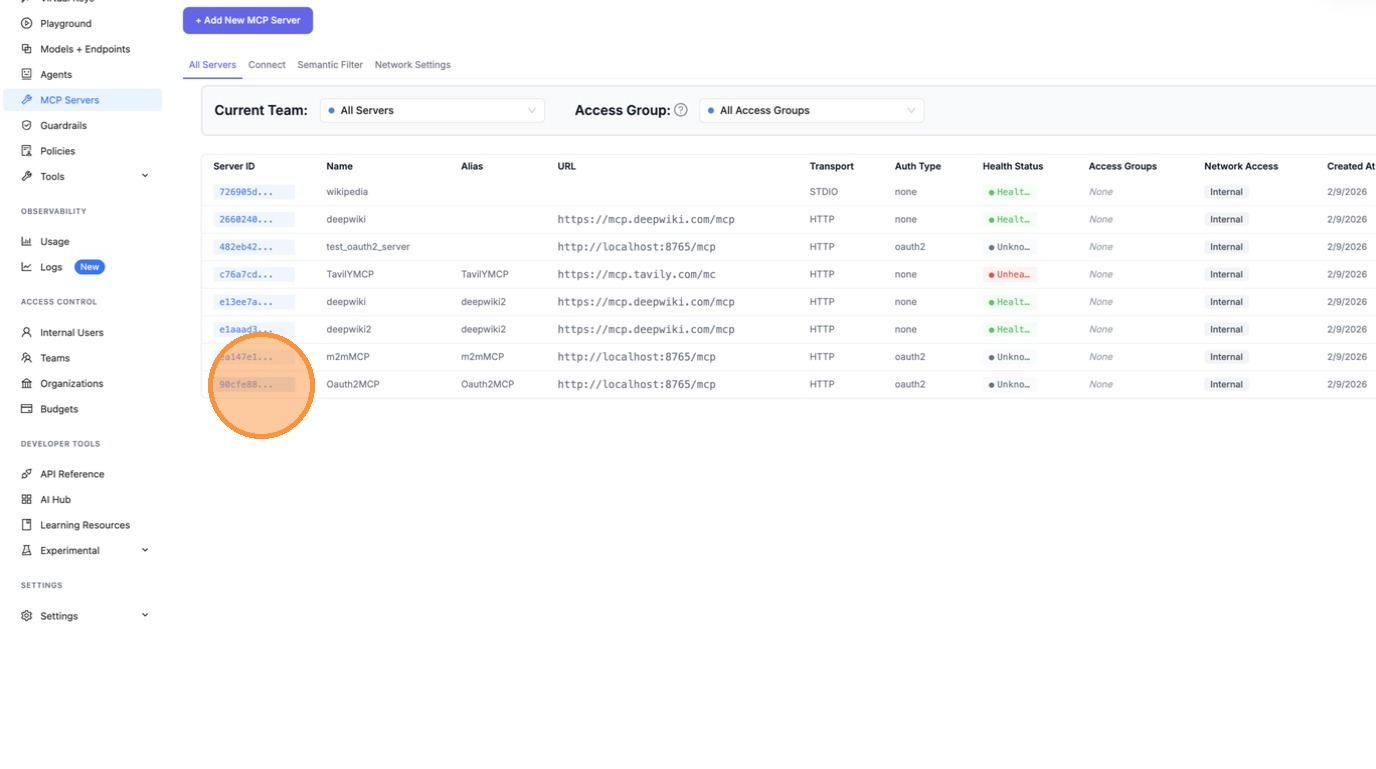
Navigate to the MCP Servers page and click + Add New MCP Server.
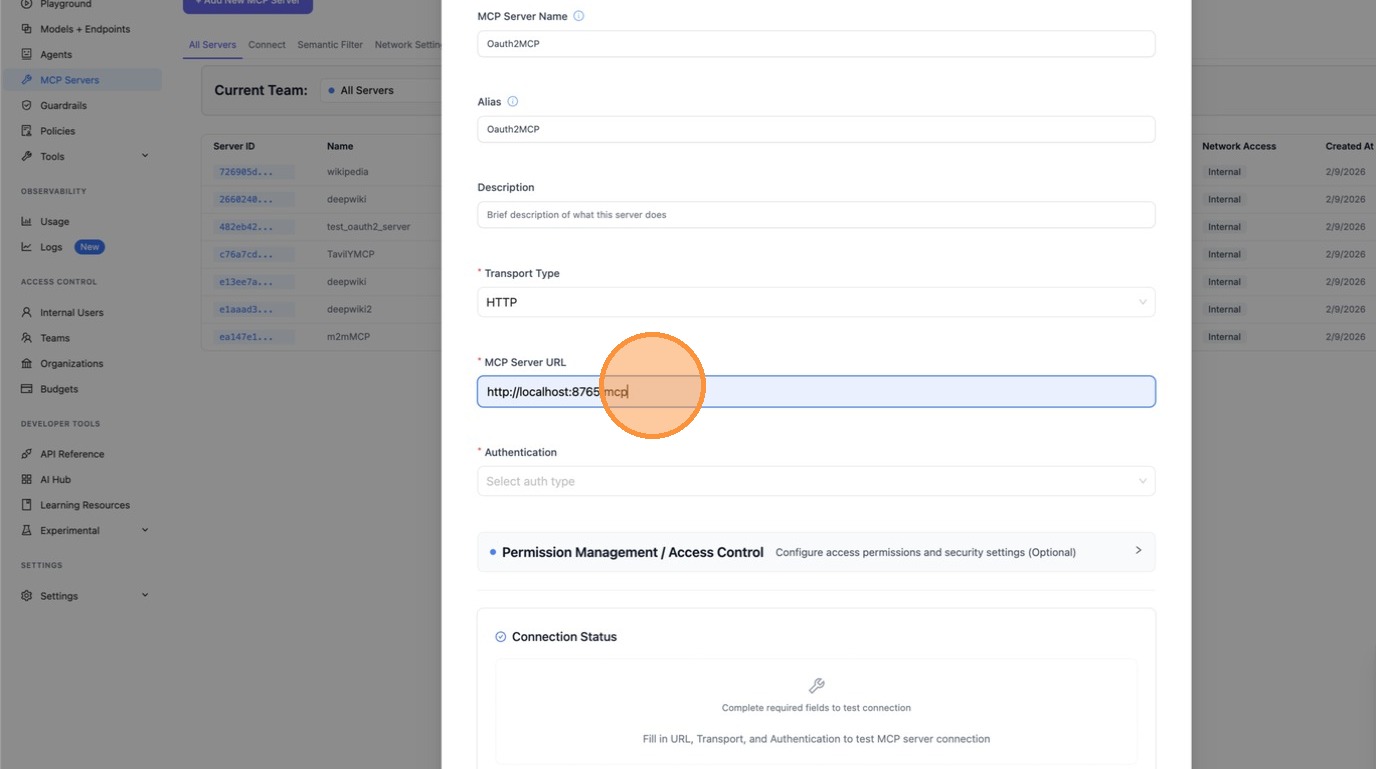
Enter a name for your server and select HTTP as the transport type.
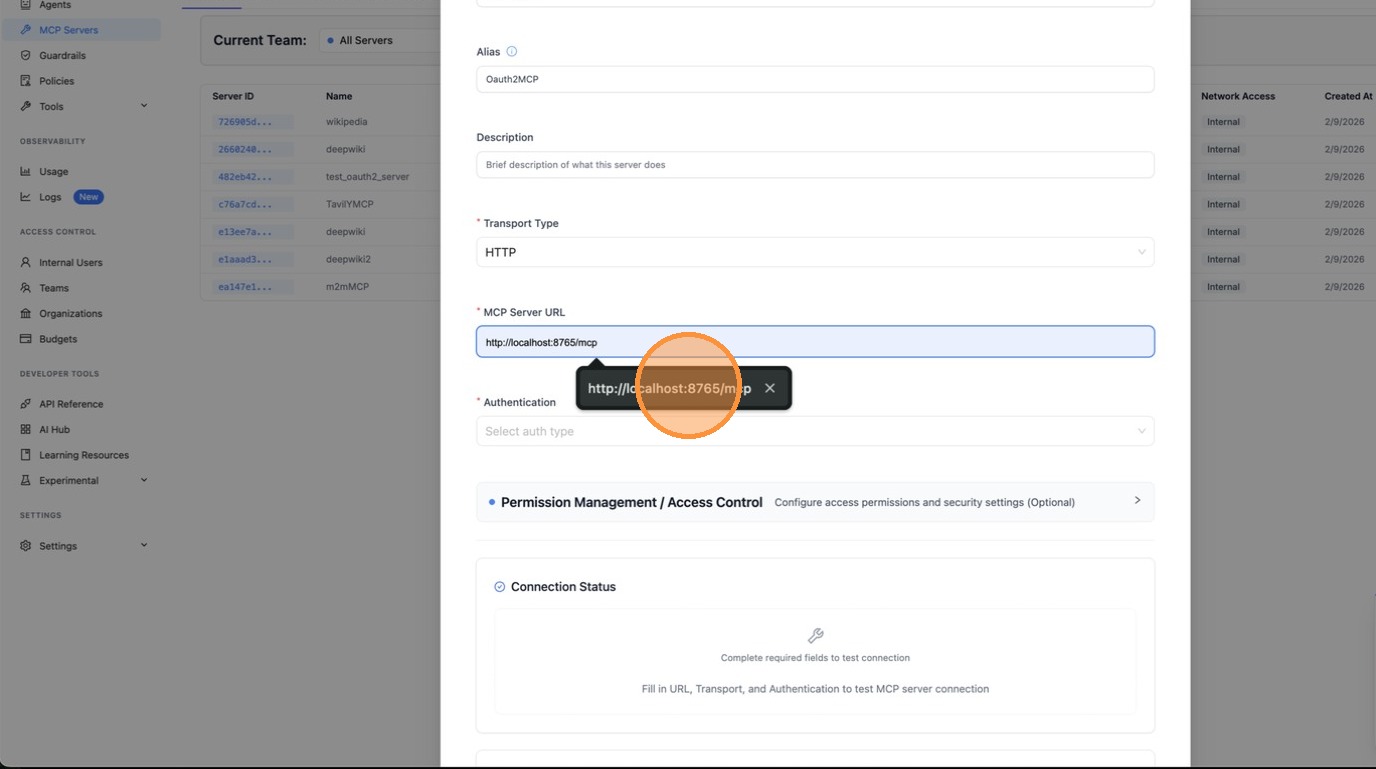
Paste the MCP server URL.
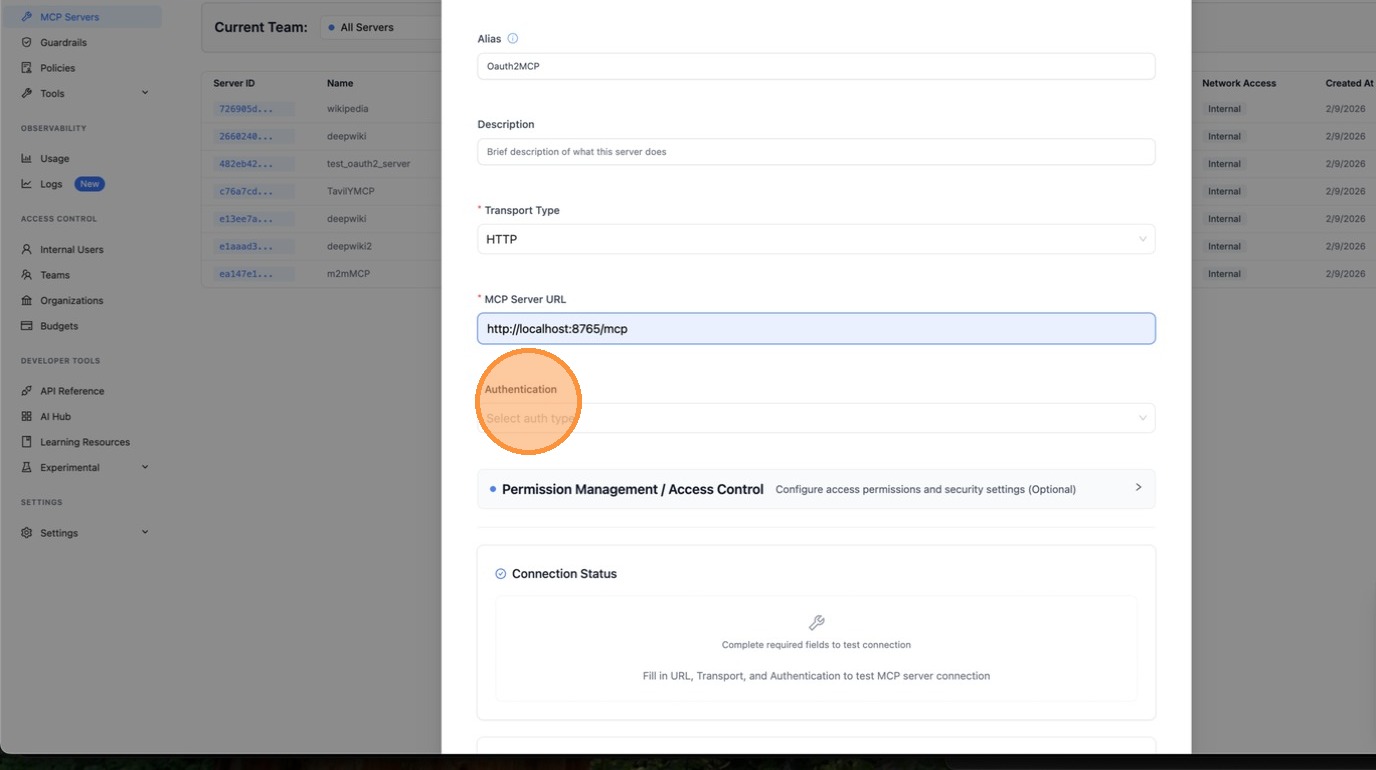
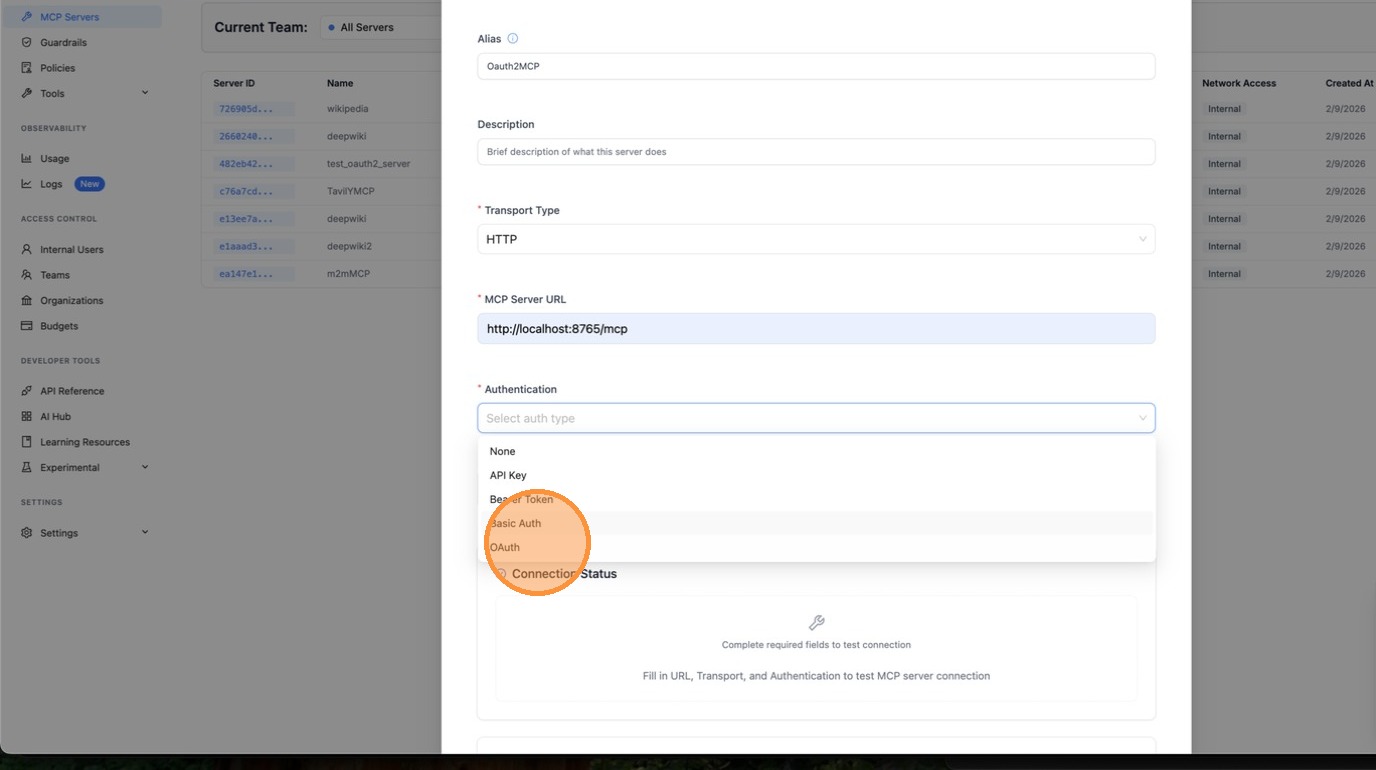
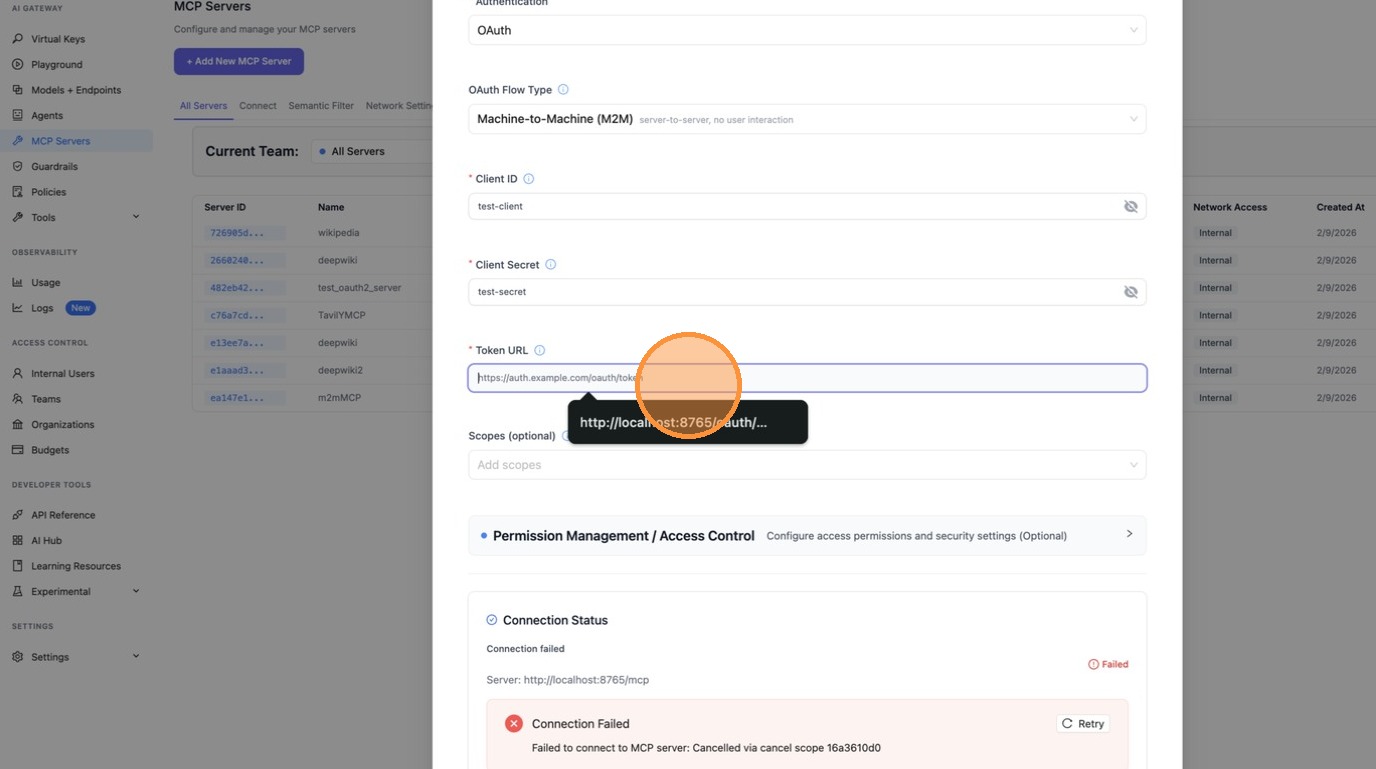
Under Authentication, select OAuth.
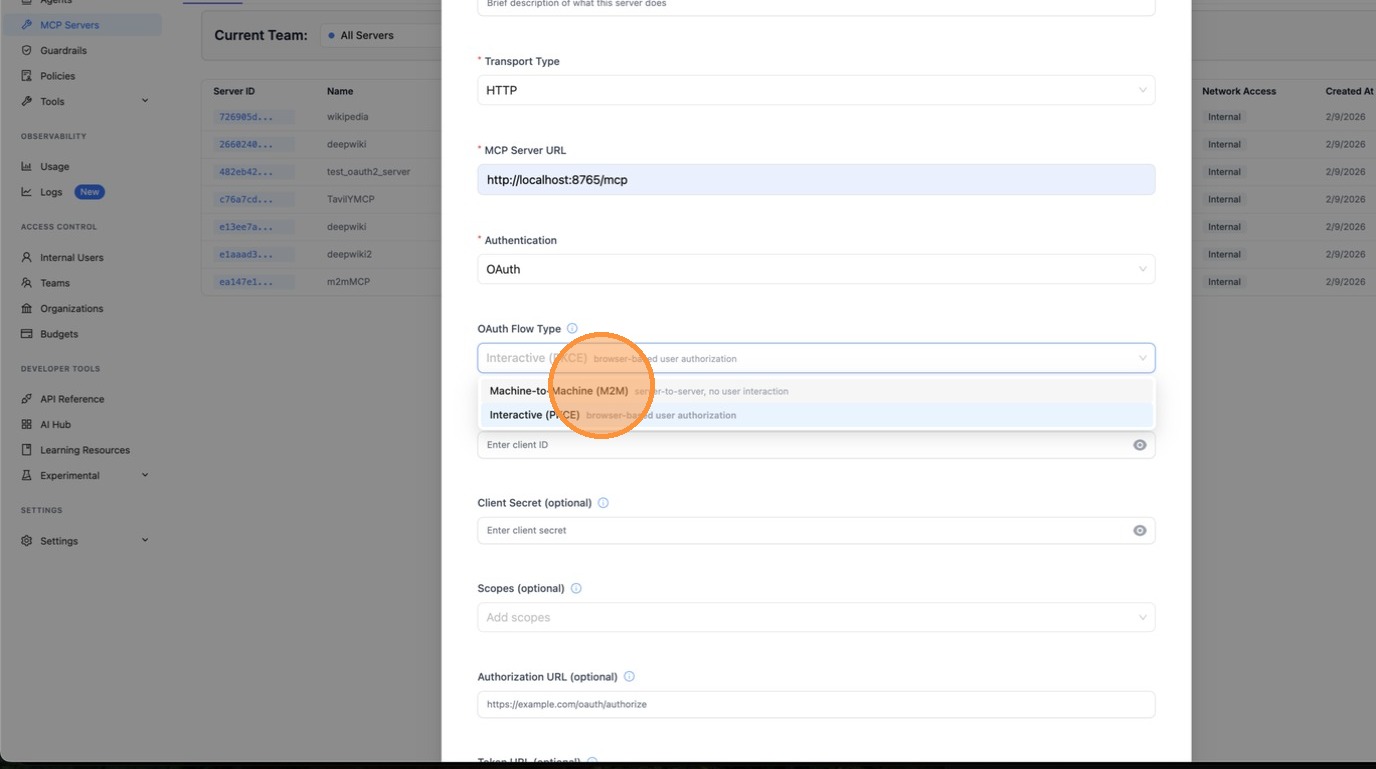
Choose Machine-to-Machine (M2M) as the OAuth flow type. This is for server-to-server authentication using the client_credentials grant — no browser interaction required.
Fill in the Client ID and Client Secret provided by your OAuth provider.
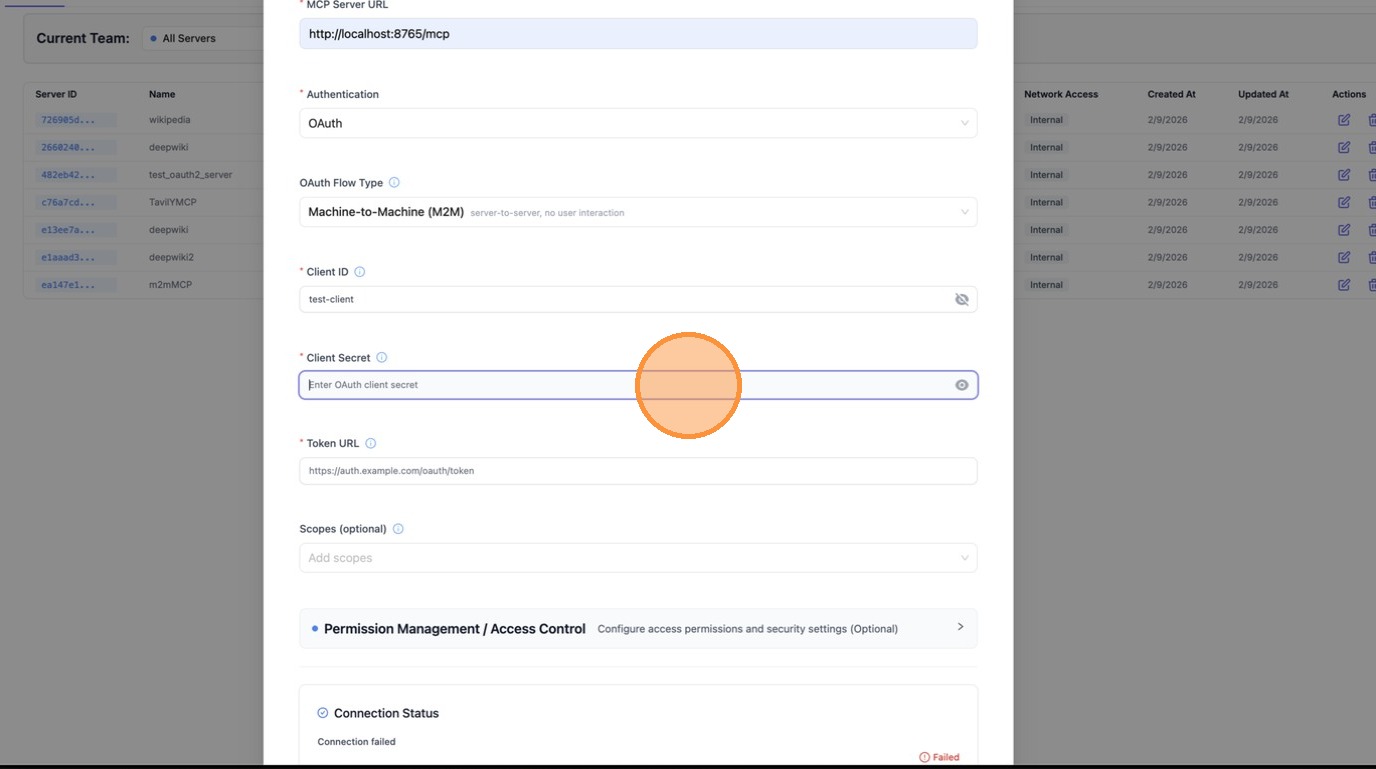
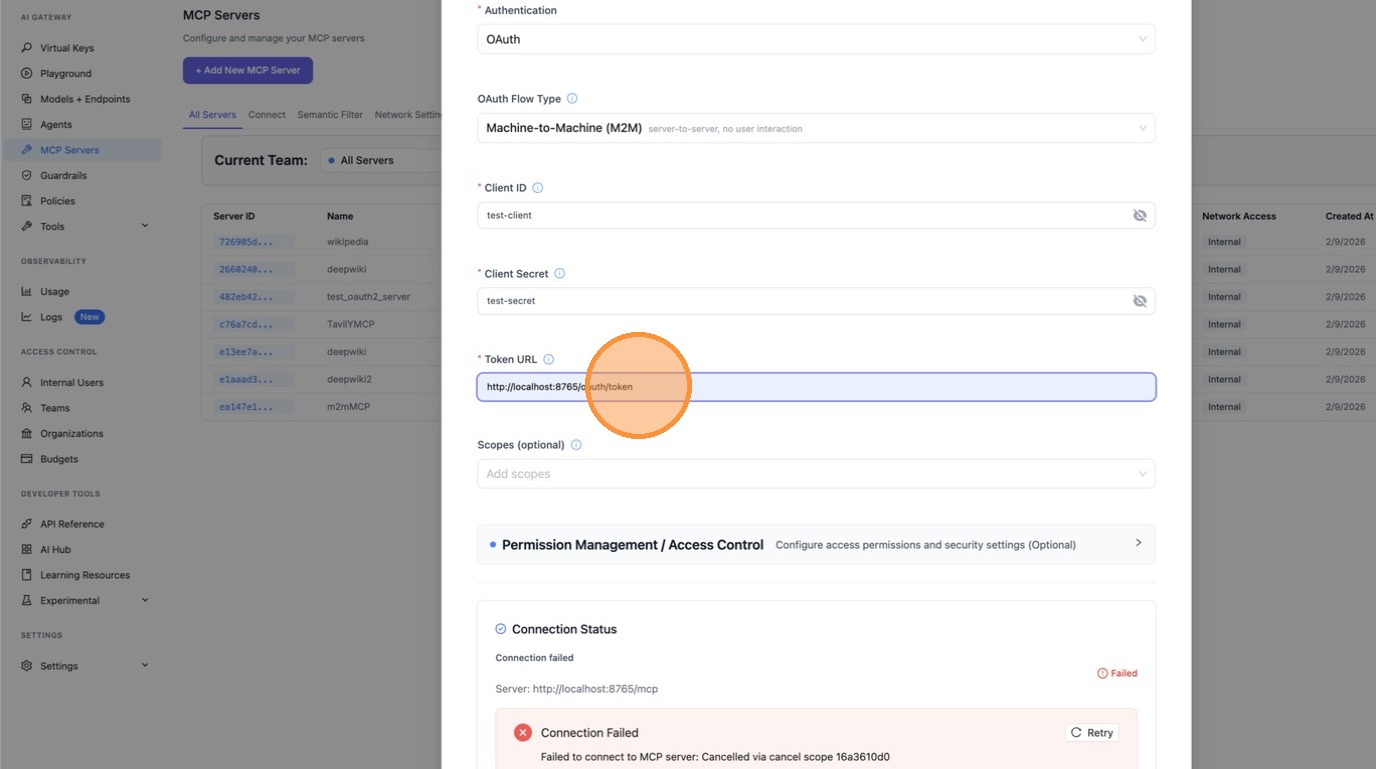
Enter the Token URL — this is the endpoint LiteLLM will call to fetch access tokens using client_credentials.
Scroll down and review the server URL and all fields, then click Create MCP Server.
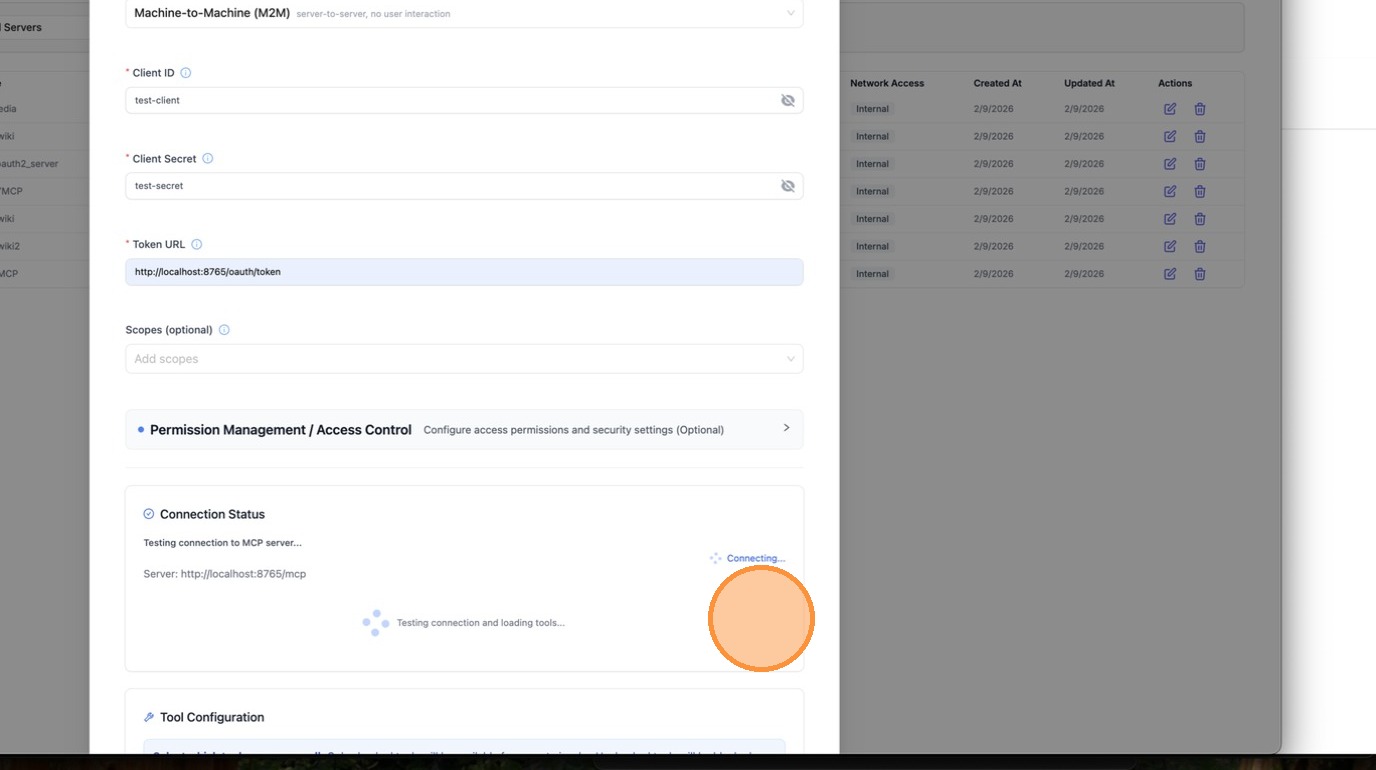

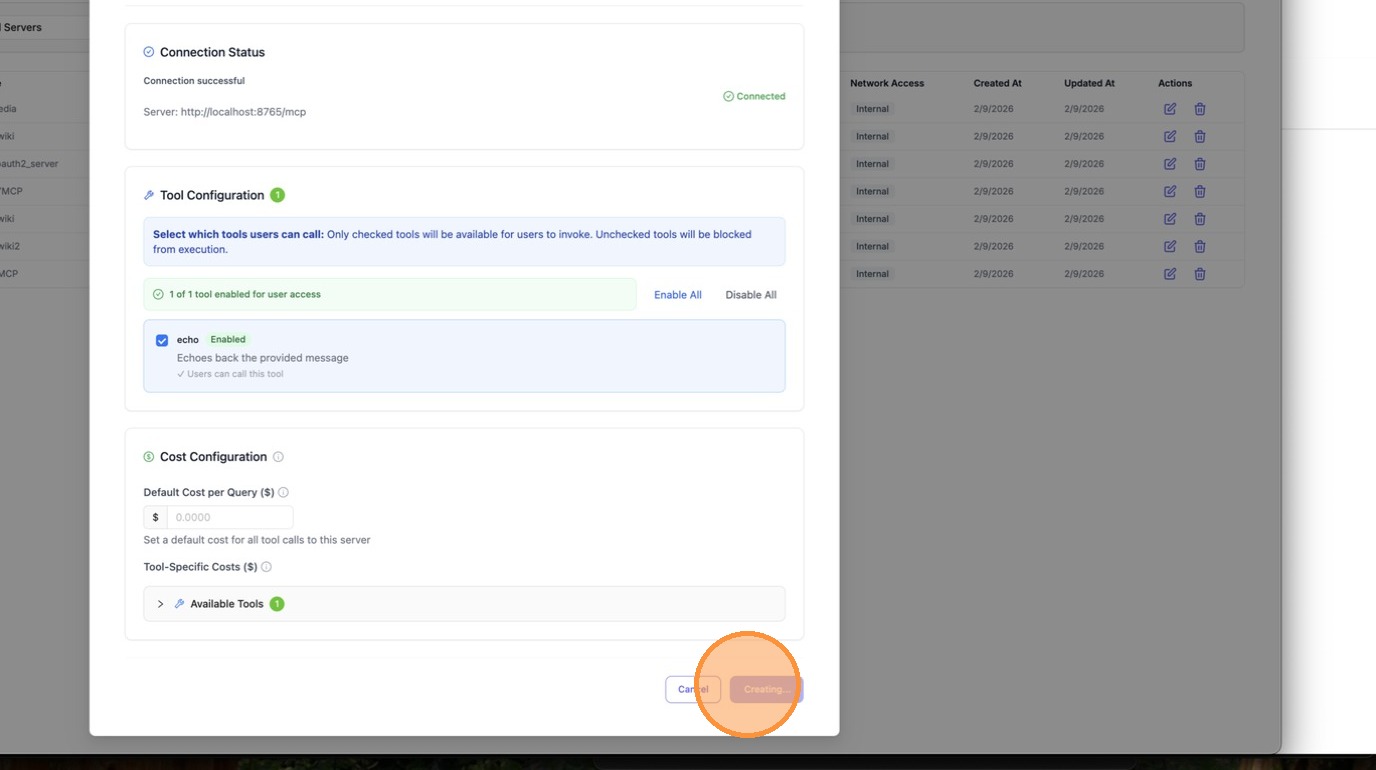
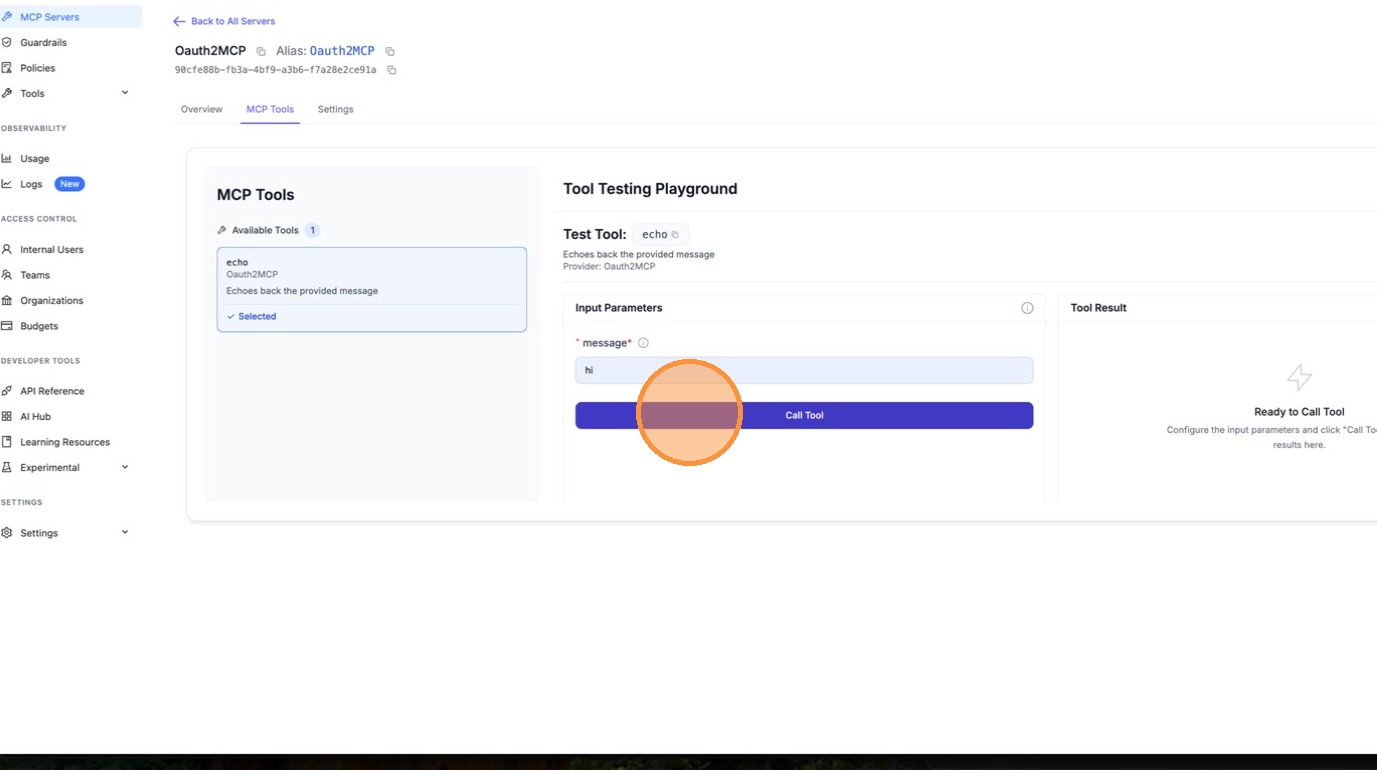
Once created, open the server and navigate to the MCP Tools tab to verify that LiteLLM can connect and list available tools.
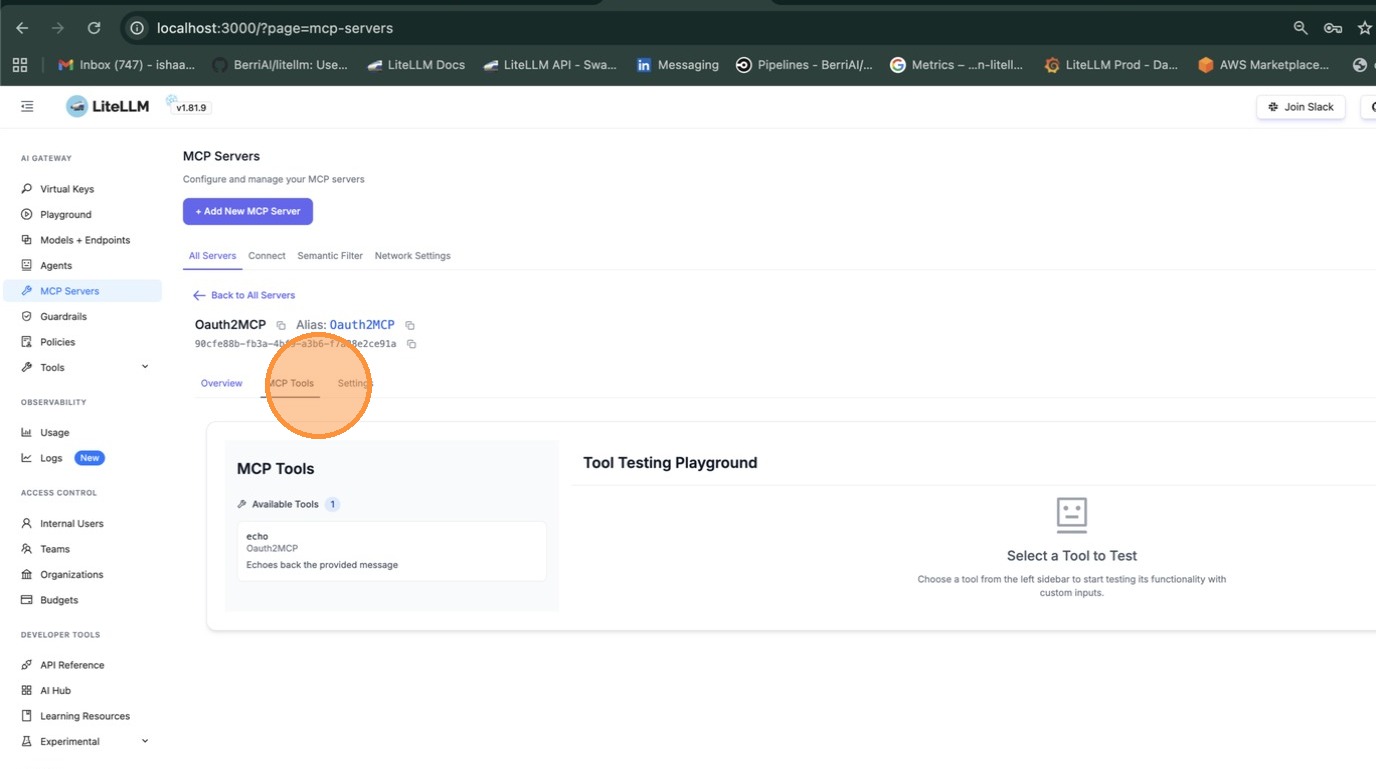
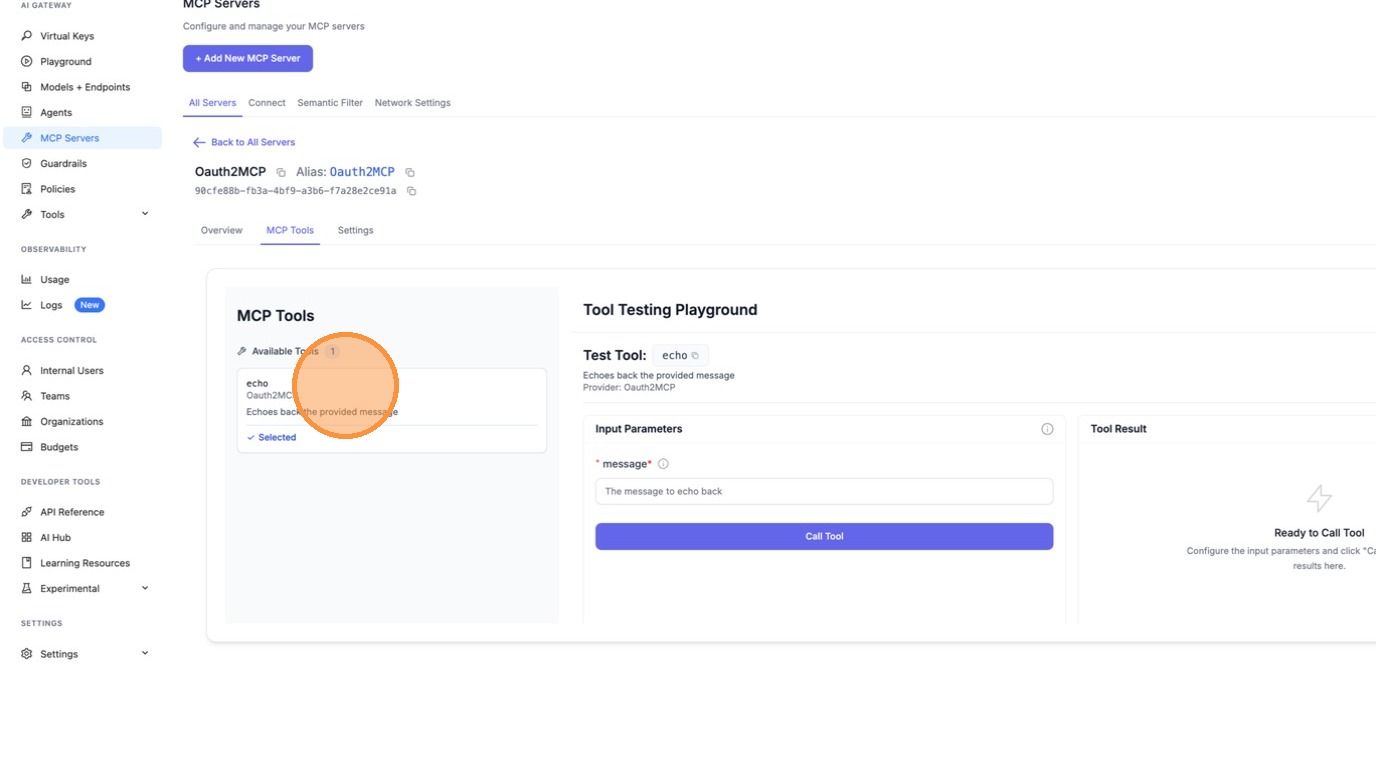
Select a tool (e.g. echo) to test it. Fill in the required parameters and click Call Tool.
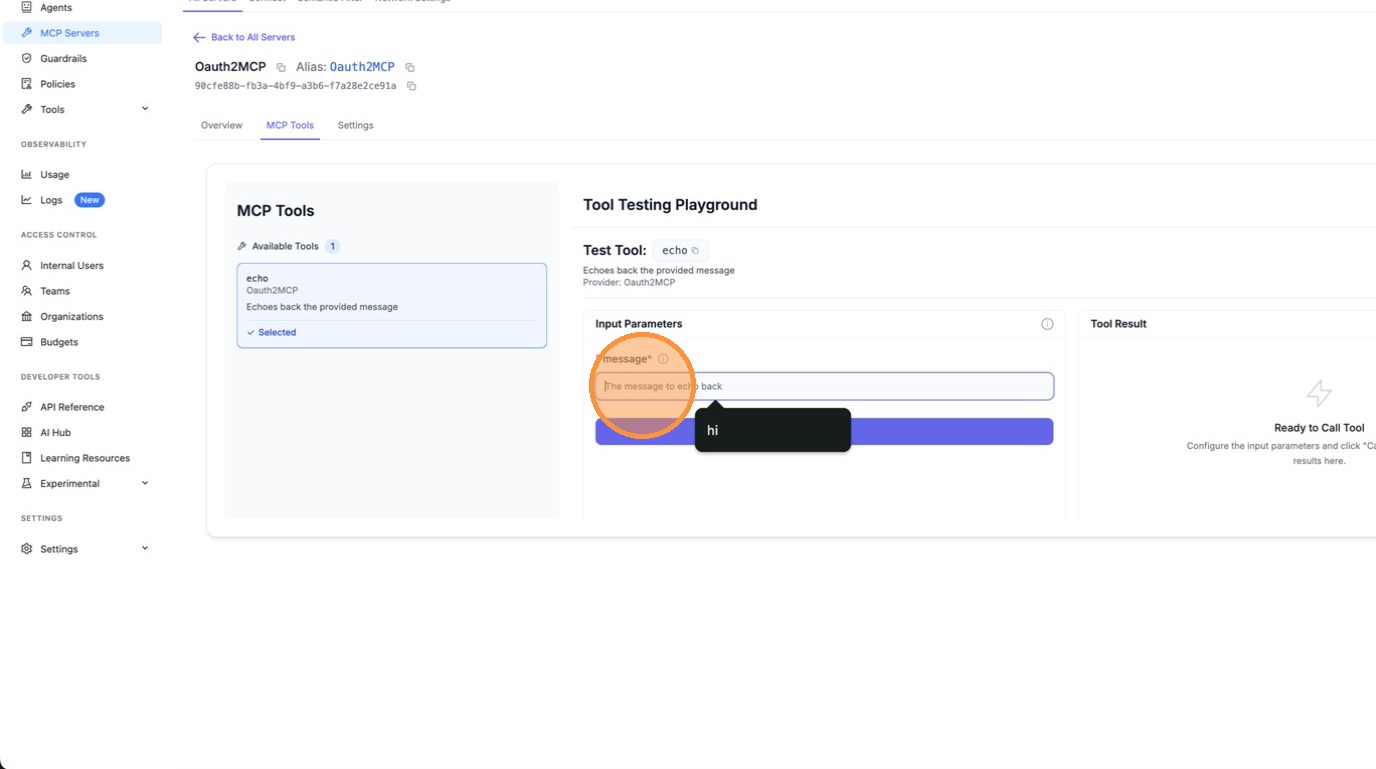
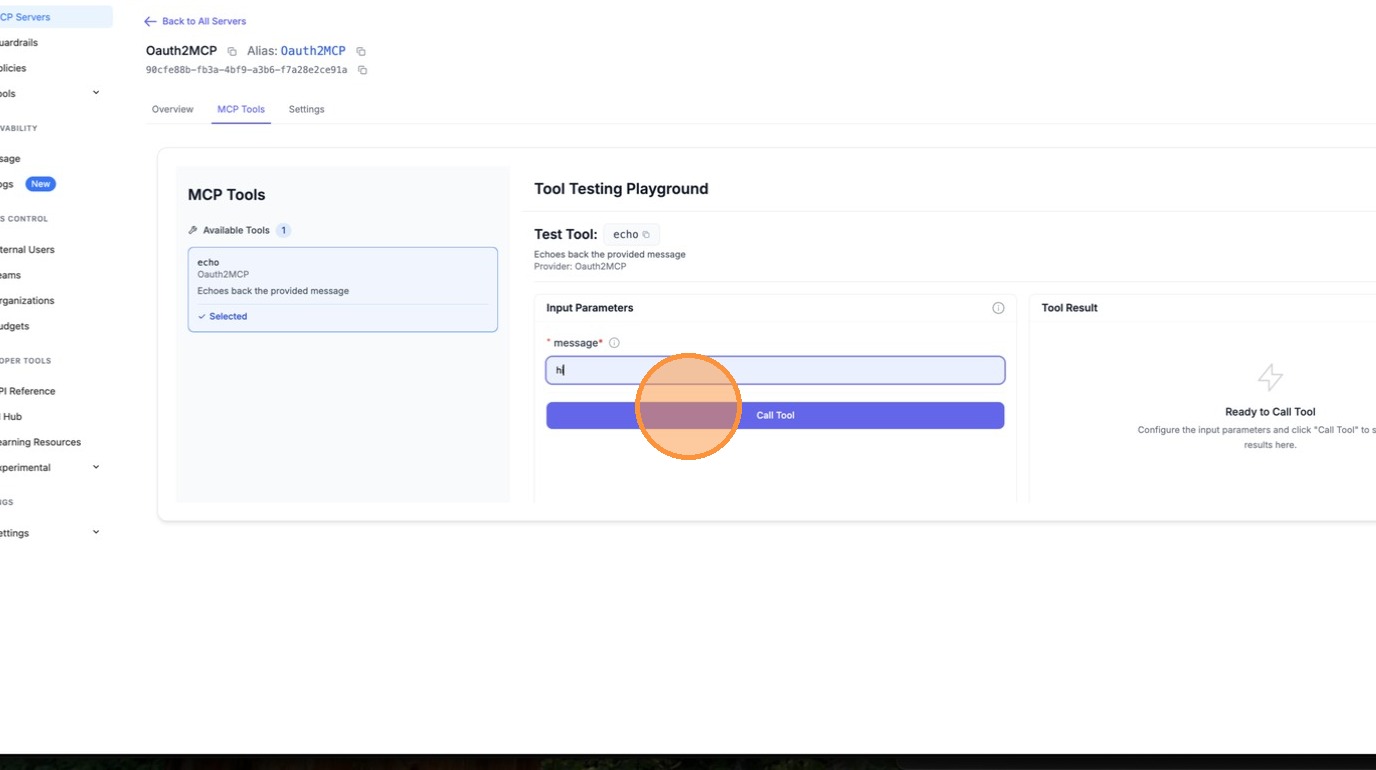
LiteLLM automatically fetches an OAuth token behind the scenes and calls the tool. The result confirms the M2M OAuth flow is working end-to-end.
Config.yaml Setup
mcp_servers:
  my_mcp_server:
    url: "https://my-mcp-server.com/mcp"
    auth_type: oauth2
    oauth2_flow: client_credentials
    client_id: os.environ/MCP_CLIENT_ID
    client_secret: os.environ/MCP_CLIENT_SECRET
    token_url: "https://auth.example.com/oauth/token"
    scopes: ["mcp:read", "mcp:write"]  # optional
How It Works
- On first MCP request, LiteLLM POSTs to
token_urlwithgrant_type=client_credentials - The access token is cached in-memory with TTL =
expires_in - 60s - Subsequent requests reuse the cached token
- When the token expires, LiteLLM fetches a new one automatically
Test with Mock Server
Use BerriAI/mock-oauth2-mcp-server to test locally:
uv add fastapi uvicorn
python mock_oauth2_mcp_server.py  # starts on :8765
mcp_servers:
  test_oauth2:
    url: "http://localhost:8765/mcp"
    auth_type: oauth2
    oauth2_flow: client_credentials
    client_id: "test-client"
    client_secret: "test-secret"
    token_url: "http://localhost:8765/oauth/token"
litellm --config config.yaml --port 4000

# See MCP REST API guide for full examples (server_id, tool naming, common errors)
# https://docs.litellm.ai/docs/mcp_rest_api

curl http://localhost:4000/mcp-rest/tools/list \
  -H "Authorization: Bearer sk-1234"

curl http://localhost:4000/mcp-rest/tools/call \
  -H "Content-Type: application/json" \
  -H "Authorization: Bearer sk-1234" \
  -d '{
    "server_id": "test_oauth2",
    "name": "echo",
    "arguments": {"message": "hello"}
  }'
Config Reference
| Field | Required | Description |
|---|---|---|
auth_type | Yes | Must be oauth2. For RFC 8693 On-Behalf-Of, use oauth2_token_exchange instead — see MCP OBO Auth. |
oauth2_flow | Yes | Flow selector. One of "client_credentials" (M2M) or "authorization_code" (interactive PKCE, including delegate_auth_to_upstream). Required for every auth_type: oauth2 server in config.yaml; the proxy refuses to start if it is missing or invalid. Servers created through the UI get it from the OAuth flow type selector. Only legacy database rows created before this field existed fall back to inference from field shape at request time; config entries are never inferred. |
client_id | Yes for M2M, optional for interactive | OAuth2 client ID. Required for client_credentials. For interactive flows, can be obtained via Dynamic Client Registration (RFC 7591) at POST /{server_name}/register if the upstream supports it. Supports os.environ/VAR_NAME. |
client_secret | Yes for M2M, optional for interactive | OAuth2 client secret. Same applicability as client_id. Supports os.environ/VAR_NAME. |
token_url | Yes for M2M, optional for interactive | Token endpoint URL. LiteLLM POSTs to this for client_credentials and for the authorization-code exchange. |
authorization_url | Interactive only | Upstream authorization endpoint. When present, LiteLLM treats the server as interactive PKCE and proxies GET /{server_name}/authorize to this URL. |
registration_url | Optional | Upstream Dynamic Client Registration endpoint (RFC 7591). When present, POST /{server_name}/register proxies through to this URL. |
scopes | No | List of scopes to request. For M2M, joined into the scope parameter on the token request. For interactive, forwarded on the authorize request. |
token_validation | No | Dict of key-value rules checked against the OAuth token response after the /token exchange. Any rule mismatch fails the exchange with token_validation_failed. Useful for asserting a tenant claim like {"team.enterprise_id": "T12345"}. |
token_storage_ttl_seconds | No | Override the TTL for the per-user token cache (interactive flow). If unset, LiteLLM uses expires_in - buffer from the token response. |
Debugging OAuth
When the LiteLLM proxy is hosted remotely and you cannot access server logs, enable debug headers to get masked authentication diagnostics in the HTTP response.
Enable Debug Mode
Add the x-litellm-mcp-debug: true header to your MCP client request.
Claude Code:
claude mcp add --transport http litellm_proxy http://proxy.example.com/atlassian_mcp/mcp \
  --header "x-litellm-api-key: Bearer sk-..." \
  --header "x-litellm-mcp-debug: true"
curl:
curl -X POST http://localhost:4000/atlassian_mcp/mcp \
  -H "Content-Type: application/json" \
  -H "x-litellm-api-key: Bearer sk-..." \
  -H "x-litellm-mcp-debug: true" \
  -d '{"jsonrpc":"2.0","id":1,"method":"tools/list","params":{}}'
Reading the Debug Response Headers
The response includes these headers (all sensitive values are masked):
| Header | Description |
|---|---|
x-mcp-debug-inbound-auth | Which inbound auth headers were present. |
x-mcp-debug-oauth2-token | The OAuth2 token (masked). Shows SAME_AS_LITELLM_KEY if the LiteLLM key is leaking. |
x-mcp-debug-auth-resolution | Which auth method was used: oauth2-passthrough, m2m-client-credentials, per-request-header, static-token, or no-auth. |
x-mcp-debug-outbound-url | The upstream MCP server URL. |
x-mcp-debug-server-auth-type | The auth_type configured on the server. |
Example — healthy OAuth2 passthrough:
x-mcp-debug-inbound-auth: x-litellm-api-key=Bearer****1234; authorization=Bearer****ef01
x-mcp-debug-oauth2-token: Bearer****ef01
x-mcp-debug-auth-resolution: oauth2-passthrough
x-mcp-debug-outbound-url: https://mcp.atlassian.com/v1/mcp
x-mcp-debug-server-auth-type: oauth2
Example — LiteLLM key leaking (misconfigured):
x-mcp-debug-inbound-auth: authorization=Bearer****1234
x-mcp-debug-oauth2-token: Bearer****1234 (SAME_AS_LITELLM_KEY - likely misconfigured)
x-mcp-debug-auth-resolution: oauth2-passthrough
x-mcp-debug-outbound-url: https://mcp.atlassian.com/v1/mcp
x-mcp-debug-server-auth-type: oauth2
Common Issues
LiteLLM API key leaking to the MCP server
Symptom: x-mcp-debug-oauth2-token shows SAME_AS_LITELLM_KEY.
The Authorization header carries the LiteLLM API key instead of an OAuth2 token. The OAuth2 flow never ran because the client already had an Authorization header set.
Fix: Move the LiteLLM key to x-litellm-api-key:
# WRONG — blocks OAuth2 discovery
claude mcp add --transport http my_server http://proxy/server/mcp \
    --header "Authorization: Bearer sk-..."

# CORRECT — LiteLLM key in dedicated header, Authorization free for OAuth2
claude mcp add --transport http my_server http://proxy/server/mcp \
    --header "x-litellm-api-key: Bearer sk-..."
No OAuth2 token present
Symptom: x-mcp-debug-oauth2-token shows (none) and x-mcp-debug-auth-resolution shows no-auth.
Check that:
- The
Authorizationheader is NOT set as a static header in the client config. - The MCP server in LiteLLM config has
auth_type: oauth2. - The
.well-known/oauth-protected-resourceendpoint returns valid metadata.
M2M token used instead of user token
Symptom: x-mcp-debug-auth-resolution shows m2m-client-credentials.
The server has client_id/client_secret/token_url configured so LiteLLM is fetching a machine-to-machine token instead of using the per-user OAuth2 token. To use per-user tokens, remove the client credentials from the server config.
Passthrough and Delegated Upstream OAuth
For servers where the client already authenticates directly against the upstream's own OAuth issuer, LiteLLM can forward the client's upstream token instead of managing tokens itself. The transparent auth_type: true_passthrough mode, the admission-gated auth_type: oauth_delegate mode, and the legacy delegate_auth_to_upstream flag are covered in MCP OAuth Passthrough. That page also documents the dcr_bridge flag for OAuth-only clients such as OpenCode, Claude Code, Cursor, and Claude Desktop, where the gateway hosts registration and sign-in so the client can connect with a single OAuth flow.